Q Fit Foam - How To
Here is how you can create a custom drawer insert for your important equipment:
Step 1 - PLAN
Measure your drawer/space where you will be storing your tools in foam.
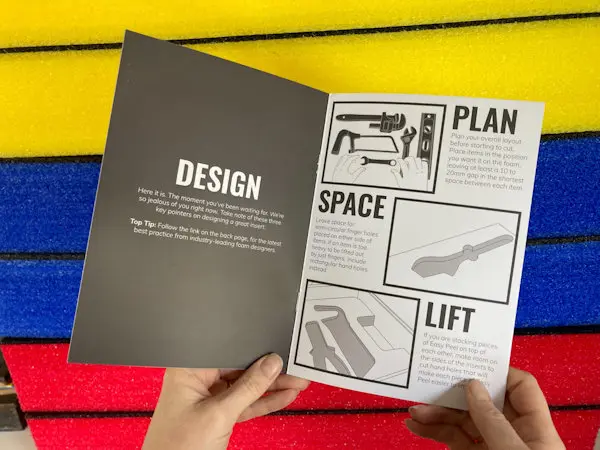
Step 2 - DRAW
Draw around the items with a marker. This will give you an outline to cut around. For tools you may be able to cut directly around the tool with a craft knife.
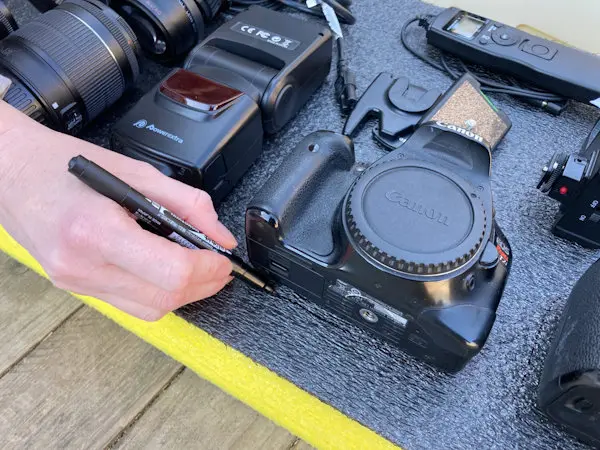
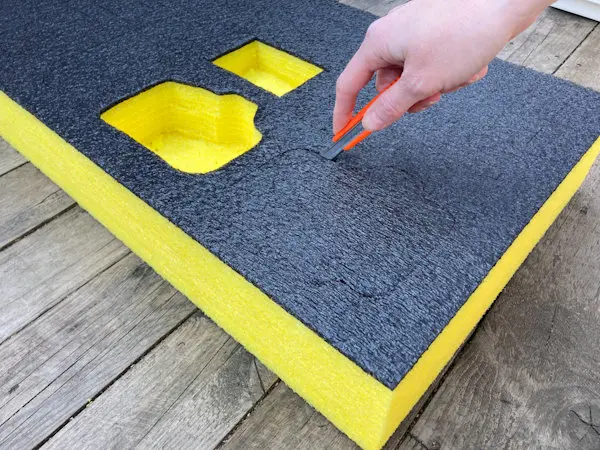
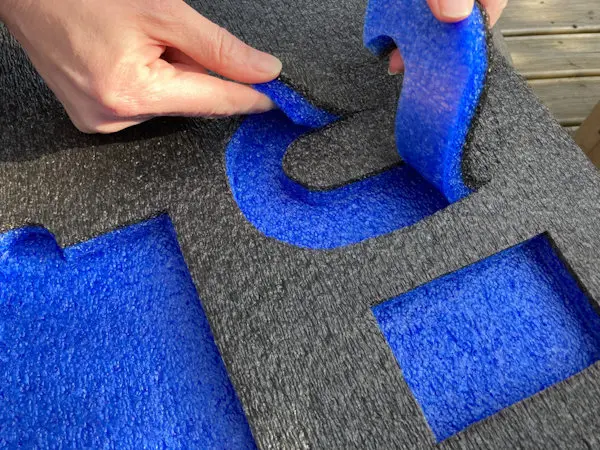
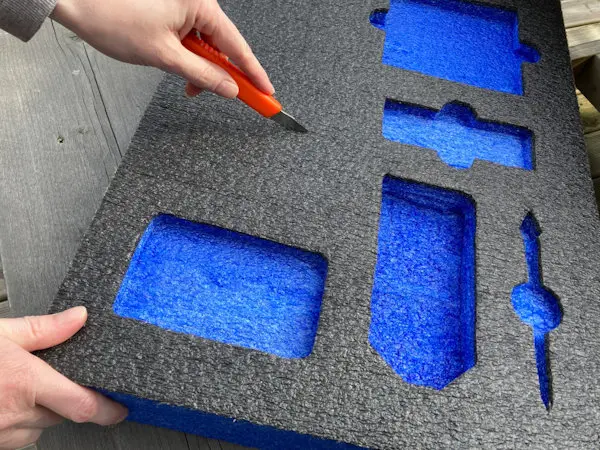
Step 3 - CUT
Use a craft knife to cut through the layers of foam. This will create a "pocket" space for your items. Measure the depth that you want the item to sit at and lengthen the cutting blade to that depth.
Step 4 - PEEL
You create the space for your item by peeling away the layer. You could use a metal ruler to help lift the edge and then peel away the rest of the foam. For more neatness you could trim any excess edges on the inside of the pocket.

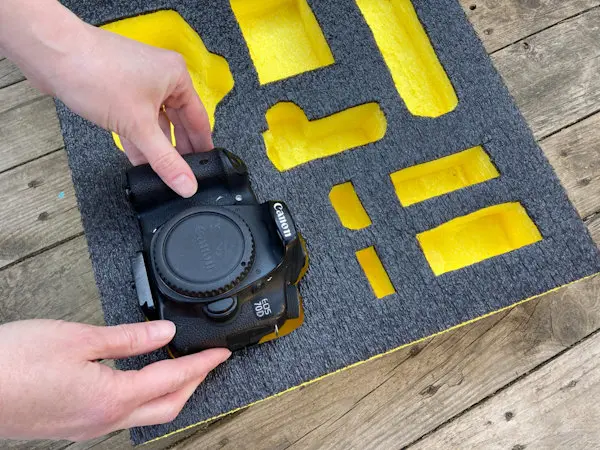
Step 5 - CHECK DEPTH
Check if you have achieved the right depth for the item you plan to store. Carry on cutting into the space as needed. It is easier to do this in stages per item than trying to do a lot of items in one go.
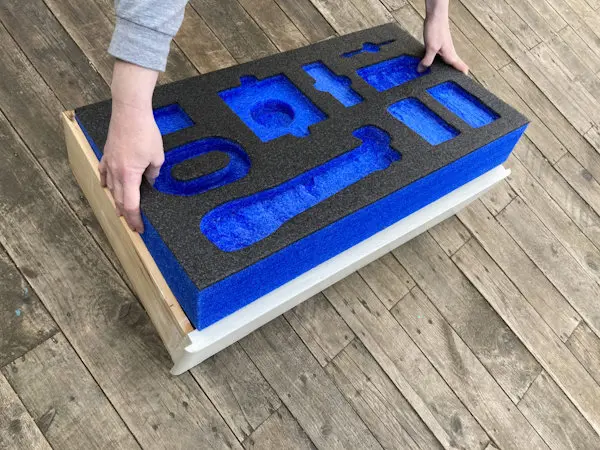
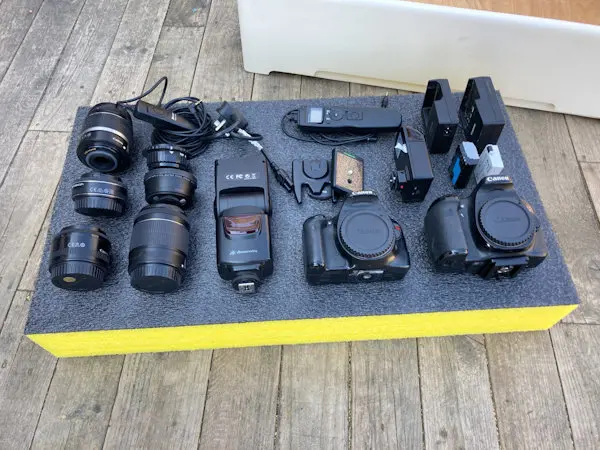
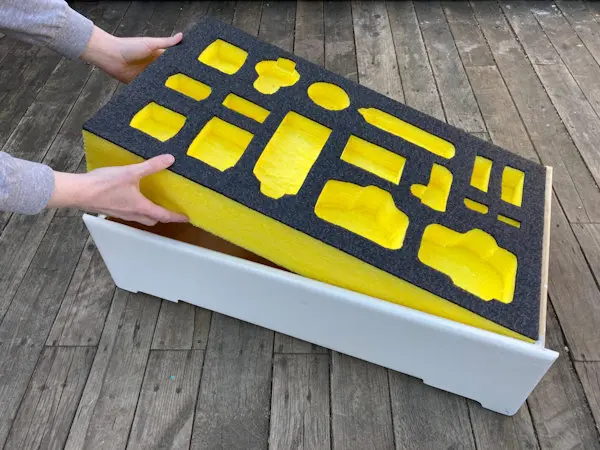
Step 6 - ORGANISE
Once all the holes are cut, put the foam into the drawer or space and add your equipment into their spaces.
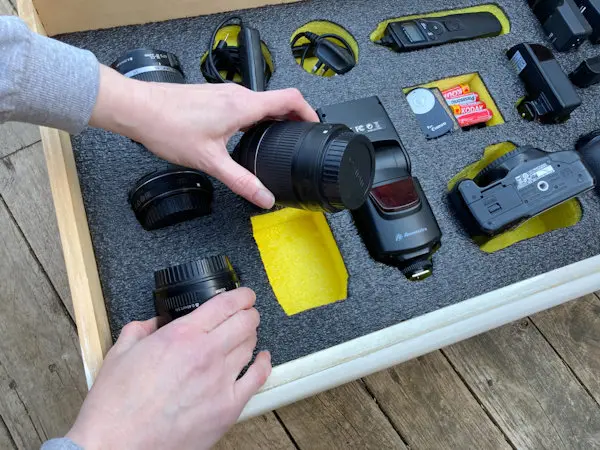
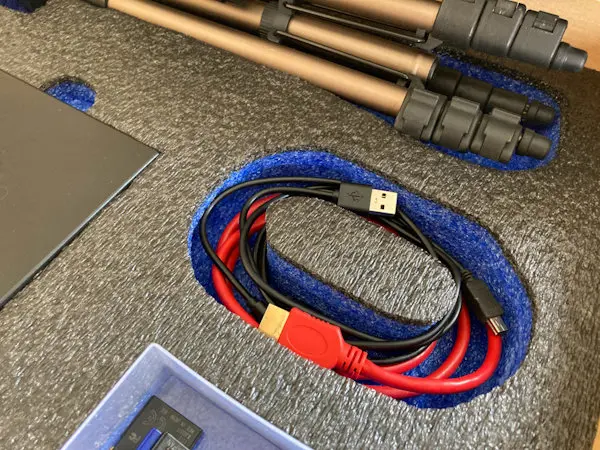
Tip 1
Store cables and plugs by cutting holes and loops into the foam.
You can wind the cables into the gaps.
Tip 2
If your item has a small detachable cable, you can store it underneath your item. Just cut a deeper secondary hole for it and this way you will always have the right cable that you need to go with the item.

Tip 3
Add finger holes for your items.
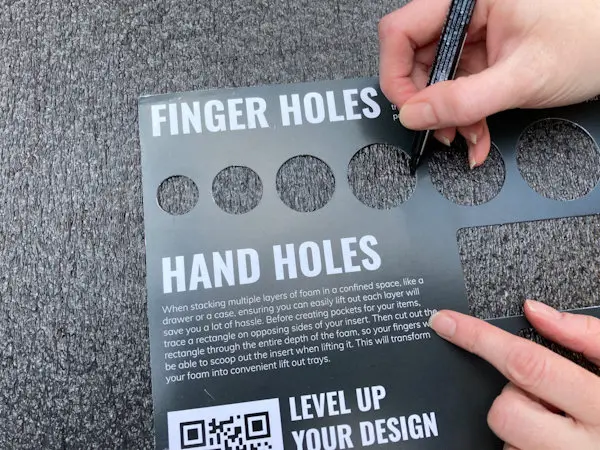
This will help with lifting flat items out, and will allow you to keep the space around your items nice and compact.
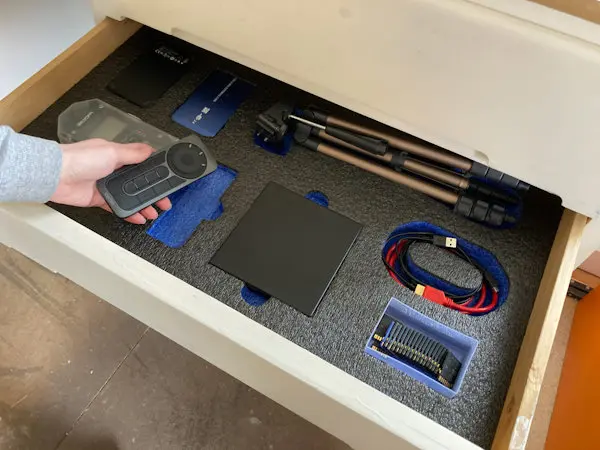
There is no limit to what you can store.
Get inspired, plan it, and you will get anything stored away.